
Knowledge, WordPress Troubleshooting
How to Enable WordPress Debug with Code Safely
Jul
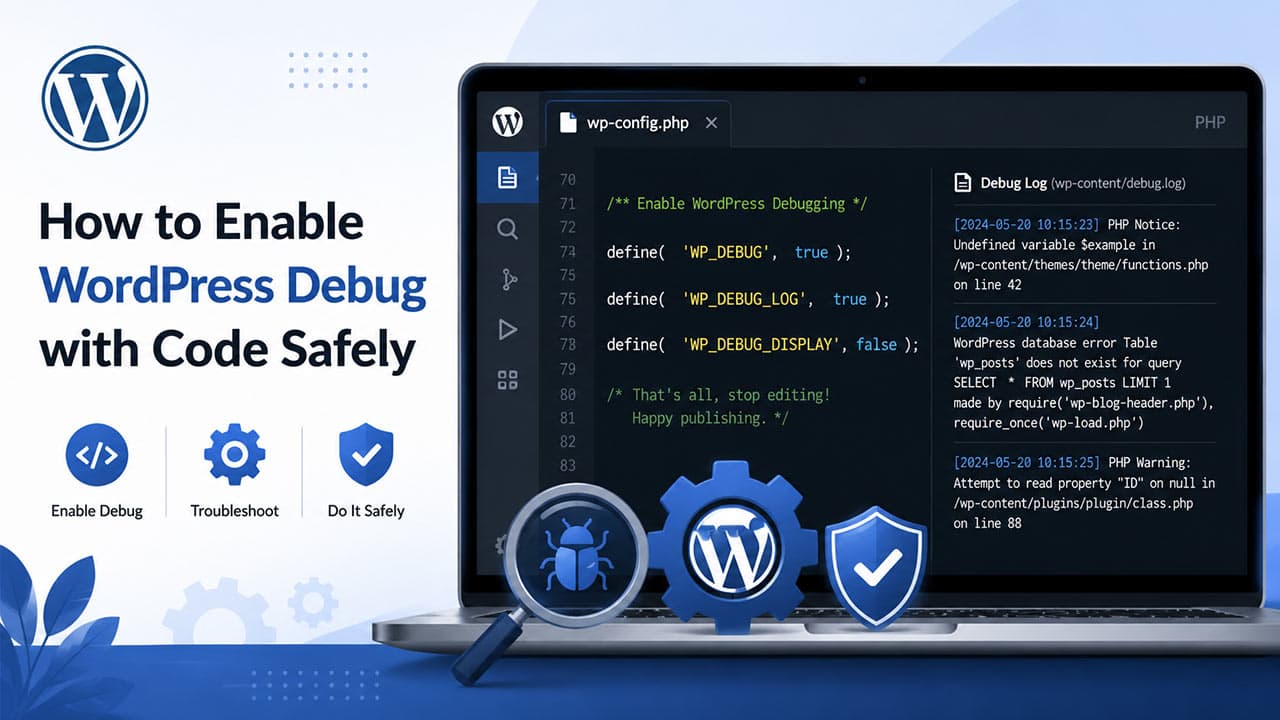
WordPress debug can help you identify PHP errors, warnings, notices, and plugin conflicts when your website is not working as expected. This guide explains how to enable WordPress debug with code by editing the wp-config.php file, where to place the debug constants, and how to review the generated error log safely.
Debug mode is useful for developers, website owners, and support teams who need more information about what is happening behind the scenes. However, it should be used carefully, especially on live websites, because technical errors may reveal sensitive paths, file names, or server details if displayed publicly.
Before You Enable WordPress Debug
Before editing any WordPress core configuration file, it is important to prepare your website properly. The wp-config.php file controls important WordPress settings, including database connection details and debugging behavior. A small mistake in this file can cause your website to stop loading.
Create a Backup First
Before making changes, create a backup of your website files and database. You can use your hosting control panel, a backup plugin, or a server-level backup tool. At minimum, download a copy of the current wp-config.php file before editing it.
This gives you a safe restore point if the code is placed incorrectly or if an unexpected error occurs.
Access the wp-config.php File
You can access the wp-config.php file using one of the following methods:
- File Manager in your hosting control panel
- SFTP or FTP client
- SSH command line access
- Managed hosting file editor, if available
The file is usually located in the root folder of your WordPress installation. This is often the same folder that contains wp-admin, wp-content, and wp-includes.
Locate the Correct Code Position
Open the wp-config.php file and look for this line:
/* That's all, stop editing! Happy publishing. */
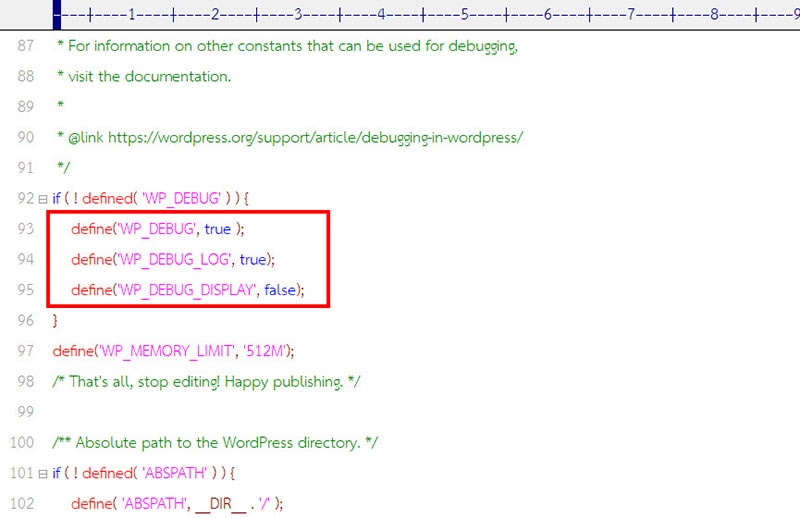
Debug constants should usually be placed above this line. Placing them below this line may prevent the settings from working correctly.
How to Enable WordPress Debug with Code
To enable WordPress debug logging safely, add the following code above the “That’s all, stop editing” line:
define( 'WP_DEBUG', true );
define( 'WP_DEBUG_LOG', true );
define( 'WP_DEBUG_DISPLAY', false );

@ini_set( 'display_errors', 0 );
What Each Line Does
WP_DEBUG enables WordPress debug mode. When this is set to true, WordPress can report PHP errors, warnings, and notices that may help identify the cause of a problem.
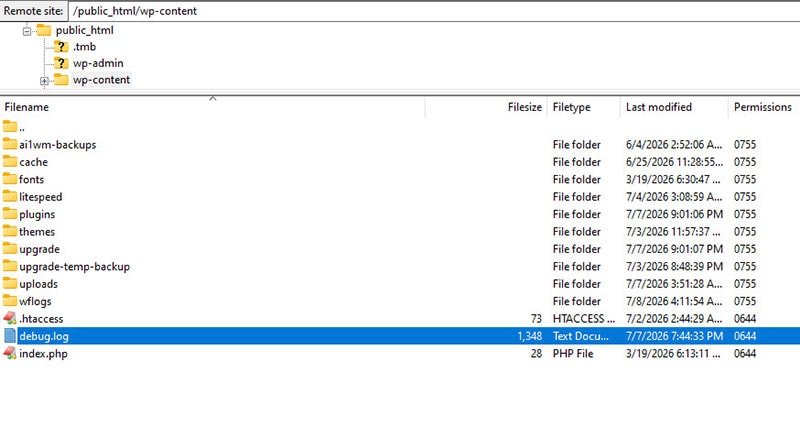
WP_DEBUG_LOG saves debug messages to a log file instead of only showing them on screen. By default, the log file is usually created at:
/wp-content/debug.logWP_DEBUG_DISPLAY controls whether errors are displayed on the website frontend. For live websites, this should usually be set to false to avoid showing technical details to visitors.
The display_errors setting helps prevent PHP errors from being shown publicly. This is useful when troubleshooting on a production website.
Optional: Enable Script Debug
In some cases, you may also need to test unminified WordPress JavaScript and CSS files. This is usually more useful for developers than general website owners.
define( 'SCRIPT_DEBUG', true );Only use this when you are testing script-related issues. It may affect performance slightly and is not normally needed for basic troubleshooting.
Testing the Plugin
After enabling WordPress debug, you can test the plugin or feature that is causing the issue. For example, if a WooCommerce payment gateway is not loading, a form is not submitting, or a plugin setting page shows a blank screen, repeat the action while debug logging is enabled.
Check the Debug Log
After testing, open this file:
/wp-content/debug.logLook for recent entries that match the time when the issue occurred. Common messages may include PHP fatal errors, deprecated warnings, missing files, undefined functions, or compatibility notices from a plugin, theme, or custom code snippet.
Review the Error Source
When reading the debug log, check the file path carefully. The path may help you identify whether the issue comes from:
- A WordPress plugin
- The active theme
- A custom code snippet
- WooCommerce
- A server configuration issue
If the error points to a plugin file, try updating the plugin, checking its settings, or temporarily disabling related features. If the error points to a theme file, switch to a default theme in a staging environment to confirm the cause.
Turn Debug Off After Testing
After troubleshooting, disable debug mode by changing the constants back to false:
define( 'WP_DEBUG', false );
define( 'WP_DEBUG_LOG', false );
define( 'WP_DEBUG_DISPLAY', false );
You may also delete or move the debug.log file if it contains sensitive information. Do not share the full log publicly unless private details, file paths, license keys, tokens, or customer data have been removed.
FAQs
Is it safe to enable WordPress debug on a live website?
It can be used on a live website if error display is disabled. For most production websites, use WP_DEBUG_DISPLAY set to false and save errors to the debug log instead.
Where is the WordPress debug log located?
By default, the debug log is usually created in the wp-content folder as debug.log. The common path is /wp-content/debug.log.
Why is my debug.log file not created?
The log file may not be created if no errors are generated, file permissions are restricted, or WP_DEBUG_LOG is not enabled correctly. Also make sure the code is placed above the “That’s all, stop editing” line.
Should I keep debug mode enabled all the time?
No. Debug mode should normally be enabled only while troubleshooting. Keeping it enabled for a long time may create large log files and expose sensitive technical information if configured incorrectly.
Can WordPress debug fix an error automatically?
No. WordPress debug does not fix errors by itself. It only helps identify what is happening so you, your developer, or your support team can take the correct action.
Summary
Enabling WordPress debug with code is a practical way to troubleshoot website errors, plugin conflicts, WooCommerce issues, and theme-related problems. By editing the wp-config.php file and using the correct debug constants, you can collect useful error details without displaying them to visitors.
For safer troubleshooting, always create a backup first, place the code in the correct location, review the debug log carefully, and disable debug mode after testing is complete. This approach helps keep your WordPress website more stable, easier to maintain, and safer for production use.
Need help troubleshooting WordPress errors? Explore more WPStore+ Knowledge Base guides to keep your website stable, secure, and easier to maintain.